Article Navigation
- Quick Answer
- Before You Start
- Inspect the Doll Before Setup
- Prepare a Safe Setup Area
- How to Install the Head
- How to Position the Arms and Shoulders
- How to Adjust the Hips and Knees
- How to Dress the Upper Body
- How to Dress the Lower Body
- Final Setup Check
- Common Setup Mistakes to Avoid
- TPE vs. Silicone Handling Considerations
- When to Stop and Check the Doll
- Frequently Asked Questions
Quick Answer
To set up a sex doll safely after delivery, place the body on a clean, stable surface, inspect it for shipping damage, install the head according to its connector type, and reposition each limb while supporting it close to the joint.
Adjust the shoulders, elbows, hips, and knees gradually rather than pulling from the hands, wrists, feet, or ankles.
When dressing the doll, move the clothing around the body instead of using the limbs as leverage. Finish by checking the head connection, joint positions, clothing tension, and overall stability before lifting or moving the doll.
Before You Start
Best for: Owners setting up a full-size TPE or silicone sex doll for the first time.
Estimated time: 10–20 minutes, depending on the doll and clothing.
Prepare:
- A clean, stable surface
- A soft towel or clean sheet
- The model-specific connector or accessory instructions
- Clean clothing
- Enough space to reposition the body without dragging it
If your model includes removable parts, electronics, heating components, or a specialized head connector, follow the manufacturer’s instructions for that specific model before applying general setup guidance.
Do not force any connector or joint that does not move as expected.
Inspect the Doll Before Setup
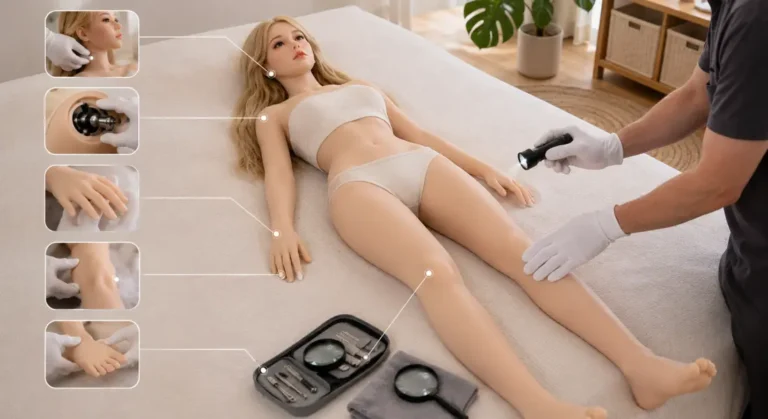
Before attaching the head, dressing the doll, or moving the joints through a wider range of motion, perform a basic inspection.
Check:
- The neck and head connector
- Shoulder and arm position
- Hands and fingers
- Hips and legs
- Knees and ankles
- TPE or silicone surface
- Removable accessories
- Any visible electronics or connectors
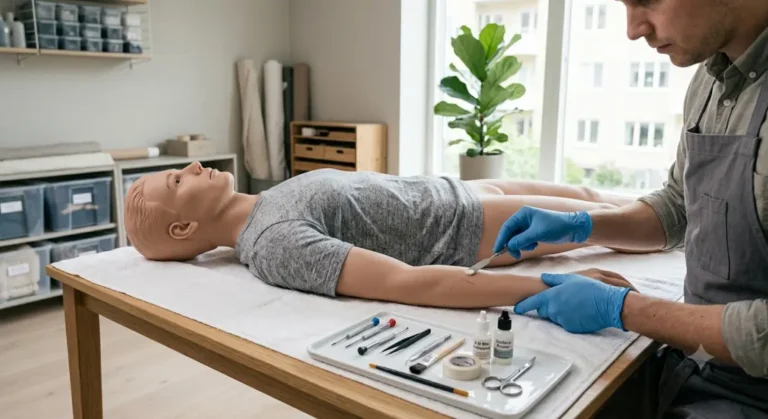
Look for cuts, compression marks, loose components, unusual joint positions, or damage that may have occurred during shipping.
If you find significant damage or a connector that does not match the supplied parts, stop the setup process and contact the seller before forcing the component into place.
For a more detailed inspection procedure, see our guide on How to Inspect a Sex Doll for Damage.
Prepare a Safe Setup Area
A full-size doll can be heavy and difficult to reposition once the limbs are extended.
Set the doll up on a surface that is:
- Clean
- Stable
- Free of sharp objects
- Large enough for the full body
- Easy to approach from both sides
A bed or padded work surface can be suitable if it gives you enough room to support the body properly.
Avoid dragging the doll across rough flooring or lifting it repeatedly while you are still adjusting the joints.
Whenever possible, complete the initial setup while the doll is lying down.
How to Install the Head
Head connector designs vary between models, so identify the connector before applying force.
Some dolls use threaded connectors, while others use push-on, snap-on, or other proprietary systems.
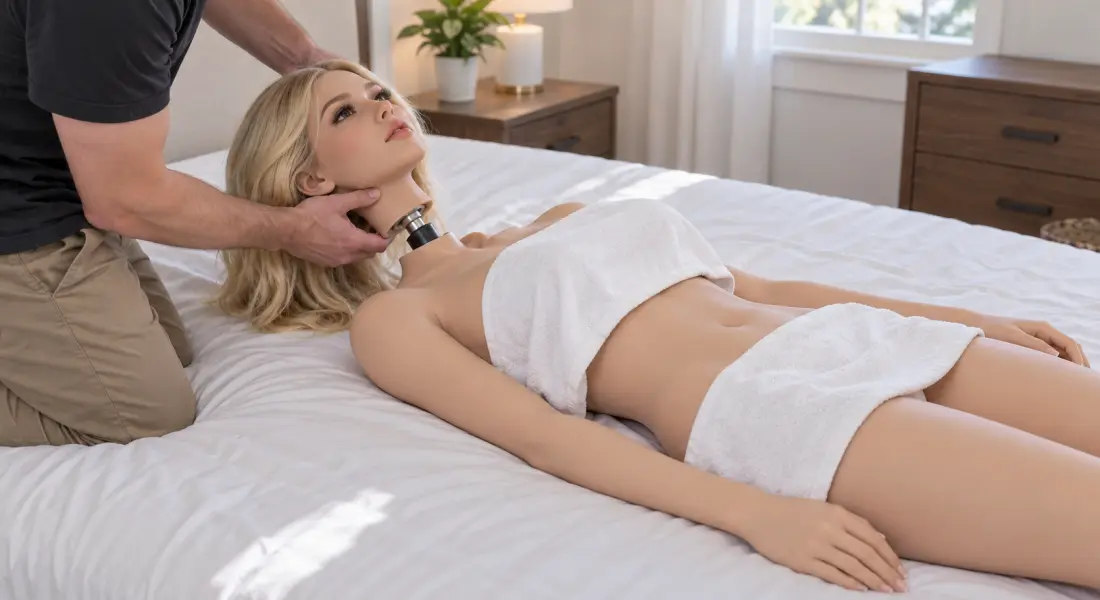
Step 1: Support the Head and Neck
Hold the head securely with both hands while keeping the neck area supported.
Do not allow the full weight of the head to hang from a partially connected fitting.
Step 2: Align the Connector
Bring the head connector directly into alignment with the neck connection.
If the connector enters at an angle or immediately resists movement, stop and realign it.
Step 3: Attach the Head
Connect the head using the procedure intended for that specific connector.
Do not overtighten threaded systems or force a push-fit connector that is not aligned correctly.
Step 4: Check Stability
Once installed, confirm that the head:
- Sits evenly on the neck
- Does not wobble excessively
- Can be positioned normally
- Does not place visible strain on the surrounding material
The head should be secure without requiring excessive force.
How to Position the Arms and Shoulders
The arms create considerable leverage when they are extended away from the body.
For that reason, avoid repositioning an arm by pulling from the hand or wrist.
Safer method:
- Support the upper arm close to the shoulder.
- Move the shoulder gradually toward the desired position.
- Support the forearm while adjusting the elbow.
- Position the wrist separately if necessary.
- Keep the movement controlled rather than using momentum.
The principle is simple:
Support the limb close to the joint you are adjusting.
This reduces unnecessary leverage across the internal skeleton.
Avoid using the fingers, hand, or wrist as a handle for moving the entire arm.
How to Adjust the Hips and Knees
The same principle applies to the lower body.
A full-size leg is relatively long and heavy. Moving it from the foot or ankle can create unnecessary leverage across the knee and hip.
Recommended sequence:
- Support the thigh near the hip.
- Adjust the hip position gradually.
- Support the lower leg.
- Bend or straighten the knee slowly.
- Reposition the leg only after the hip and knee are aligned.
Do not lift the entire leg by the foot.
If the joint feels unusually resistant, do not try to overcome the resistance with additional leverage.
Stop and check the position first.
How to Dress the Upper Body
Dressing is easier when the joint positions are adjusted before the clothing is pulled into place.
For shirts and tops:
- Position the arms so the sleeves can be reached easily.
- Guide one arm through the garment at a time.
- Move the fabric gradually along the arm.
- Reposition the shoulder or elbow when necessary.
- Pull the garment into its final position only after both arms are aligned.
Avoid pulling hard on the hands or fingers to force them through tight sleeves.
A useful rule is:
Move the clothing around the doll rather than forcing the doll through the clothing.
Tight pull-over clothing
For some models, temporarily removing the head can make tight pull-over garments easier to fit.
This can reduce friction around:
- The face
- Hair or wig
- Ears
- Neck
- Upper shoulders
Reinstall the head only after the garment is correctly positioned.
How to Dress the Lower Body
Pants and other fitted lower-body clothing should be applied gradually.
Recommended method:
- Keep the doll lying down.
- Slightly bend the knees if needed.
- Guide each foot through the appropriate pant leg.
- Move the fabric upward a short distance at a time.
- Adjust the knees and hips as necessary.
- Continue moving the clothing over the thighs.
- Position the waistband only after the legs and hips are aligned.
Avoid pulling the pants upward using excessive force while the legs are fully extended.
If clothing is extremely tight, choose a larger garment rather than using the doll’s joints as leverage.
Final Setup Check
Before lifting, carrying, or repositioning the completed doll, perform a short final check.
Head
Confirm that the head is correctly connected and aligned.
Shoulders and Arms
Make sure the arms are not left in an unnecessarily extreme position.
Hips and Knees
Check that both legs are supported and positioned naturally.
Hands and Fingers
Make sure fingers are not trapped inside clothing or bent against the surface.
Clothing
Look for excessive tension around joints, fingers, toes, or narrow sections of the body.
Surface
Check that no jewelry, zippers, sharp fasteners, or rough objects are pressing into the TPE or silicone.
Once everything is correctly positioned, the doll is ready to be moved or placed into its intended resting position.
Common Setup Mistakes to Avoid
Pulling the Doll by the Hands or Wrists
The hand is not a handle.
Moving an entire arm from the wrist increases leverage across the wrist, elbow, and shoulder.
Moving a Leg From the Foot or Ankle
Support the thigh and lower leg instead of using the foot as a lever.
Forcing a Head Connector
A connector that does not align correctly should be checked, not forced.
Different models may use different head attachment systems.
Using Clothing to Pull a Limb Into Position
Clothing should follow the body.
It should not be used to drag the arm or leg into a new joint position.
Moving Multiple Joints at Once
For first-time setup, controlled single-joint adjustments are easier to monitor.
Move the shoulder, elbow, hip, and knee deliberately rather than twisting the entire limb at once.
Leaving Tight Clothing Under Tension
Very tight clothing can place continuous pressure on soft surfaces and joints.
After dressing, check for areas where fabric, seams, elastic, or fasteners are unusually tight.
TPE vs. Silicone Handling Considerations
The mechanical handling principles in this guide apply to both TPE and silicone dolls:
- Support the body properly
- Avoid excessive leverage
- Do not force joints
- Minimize unnecessary friction
- Keep sharp objects away from the surface
However, TPE and silicone are different materials and may respond differently to friction, pressure, cleaning products, powders, clothing dyes, and repair methods.
For material-specific maintenance, follow the relevant XLifeDoll material-care guide rather than treating TPE and silicone as interchangeable.
When to Stop and Check the Doll
Stop repositioning or assembling the doll if you notice:
- A joint that suddenly becomes unusually difficult to move
- A head connector that will not align
- Unexpected looseness in a joint or connector
- Visible tearing or surface separation
- A finger or toe trapped under clothing
- Abnormal movement around the neck or another joint
- An unfamiliar mechanical sound combined with abnormal resistance
Do not increase force simply because a part will not move.
Check the model instructions or contact support when the expected movement is unclear.
Conclusion
A good first-time sex doll setup is controlled, methodical, and based on supporting the body rather than forcing it into position.
The key principles are straightforward:
- Align the head connector before applying force
- Support limbs close to the joint being adjusted
- Avoid using hands, wrists, feet, or ankles as leverage
- Adjust hips and knees before repositioning the legs
- Move clothing around the body gradually
- Complete a final alignment check before lifting
These habits can reduce unnecessary mechanical stress on the skeleton, joints, and TPE or silicone surface during assembly and dressing.
Frequently Asked Questions
How do you set up a sex doll for the first time?
Place the doll on a clean, stable surface, inspect it for damage, attach the head according to its connector design, position the arms and legs gradually, dress the body without pulling on the limbs, and perform a final joint and surface check before moving it.
Should I attach the head before or after dressing a sex doll?
Either can work depending on the clothing and connector design. For tight pull-over tops, removing or attaching the head after dressing can make the process easier and reduce friction around the face, hair, and neck.
Can I pull a sex doll by the hands or feet when positioning it?
No. Avoid using the hands, wrists, feet, or ankles as leverage points. Support the limb closer to the shoulder, elbow, hip, or knee being adjusted.
Why are sex doll joints difficult to move?
Joint resistance varies by skeleton design and model. Some joints are intentionally firm, especially when new. If movement feels abnormal or significantly different from the expected range, stop rather than applying additional leverage.
Should a sex doll be lying down during setup?
For most full-size dolls, lying the body on a stable, padded surface makes first-time assembly and dressing easier because the body can remain supported while individual joints are adjusted.
Is the setup process different for TPE and silicone sex dolls?
The basic handling principles are similar, but TPE and silicone have different material characteristics. Cleaning products, powders, friction management, clothing-dye precautions, and repair methods should follow material-specific guidance.
Recommended Internal Links
Parent / Upward Links
Ownership Guides
Use the corresponding Ownership Guides cluster page when published.
Contextual Article Links
How to Inspect a Sex Doll for Damage
Anchor: inspect your sex doll for damage
How to Clean a Sex Doll Safely
Anchor: clean a sex doll safely
How to Dry a Sex Doll Properly After Cleaning
Anchor: dry the doll properly
How to Store a Sex Doll Safely
Anchor: store a sex doll safely
How Often Should You Inspect a Sex Doll?
Anchor: regular inspection schedule
Recommended Future Supporting Article
How to Lift and Move a Full-Size Sex Doll Safely
This article should become one of the strongest contextual links from the setup guide because lifting begins immediately after initial assembly.