On this page
- Quick Answer
- Before You Start
- Types of Minor Surface Damage
- What You’ll Need
- Step-by-Step Repair Guide
- Repair Checklist
- Frequently Asked Questions
Quick Answer
Minor surface damage, such as small tears, shallow cuts, scratches, or light abrasions, can often be addressed before it develops into a larger problem. The first step is to inspect the damaged area and confirm that the damage is only superficial. Clean the surface thoroughly, use a repair product that is compatible with your doll’s material, and carefully follow the manufacturer’s instructions. If the damage extends beyond the surface or affects internal components, contact the manufacturer or a qualified repair service instead of attempting a home repair.
Before You Start
Who This Guide Is For
This guide is intended for owners of TPE or silicone sex dolls who have noticed minor surface damage during routine inspection or regular maintenance.
It covers cosmetic surface issues only and does not include structural repairs, skeleton repairs, electronic components, or heating systems.
What You’ll Need
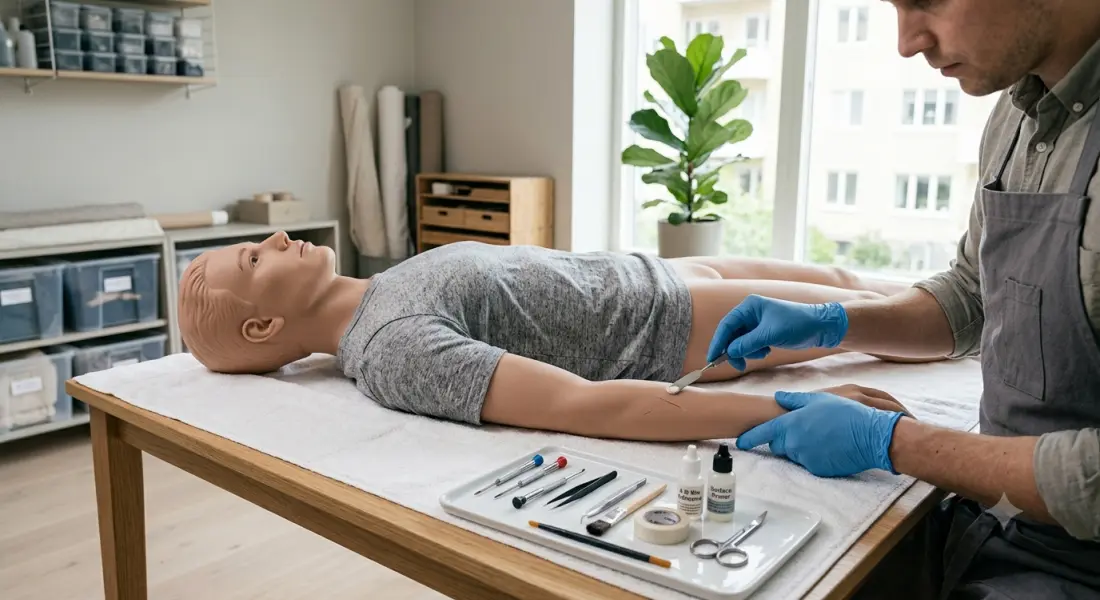
Prepare the following items before starting:
- A clean microfiber cloth
- Disposable gloves
- A compatible repair product for your doll’s material
- Cotton swabs or small applicators
- Good lighting for inspection
Always read the instructions supplied with your repair product before use.
Important Notes
Before attempting any repair:
- Identify whether your doll is made of TPE or silicone.
- Never mix repair products designed for different materials.
- Test any repair product according to the manufacturer’s guidance before applying it to a visible area.
- If the damage appears extensive or structural, stop the repair and seek professional assistance.
Types of Minor Surface Damage
Not every mark requires the same level of attention. Understanding the type of damage helps you decide whether a simple surface repair is appropriate.
Small Tears
Small tears often appear in high-flex areas after repeated movement. Addressing them early may help prevent the damaged area from becoming larger over time.
Minor Cuts
Shallow cuts can occur during handling, storage, or accidental contact with sharp objects. Surface-level cuts are generally easier to manage than deeper damage.
Surface Scratches
Light scratches usually affect appearance more than function. While many are cosmetic, routine inspection helps determine whether additional maintenance is needed.
Light Abrasions
Areas exposed to repeated friction may develop slight surface wear. Early attention helps reduce continued wear in frequently contacted areas.
What You’ll Need
Successful repairs begin with proper preparation rather than the repair itself.
Before starting, make sure you have:
- A clean workspace with adequate lighting
- The correct repair product for your doll’s material
- Cleaning supplies to remove dust and residue
- Disposable gloves to help keep the repair area clean
- Soft applicators recommended by the repair product manufacturer
Avoid using household adhesives or products that are not specifically intended for your doll’s material.
Step-by-Step Repair Guide
Step 1 — Inspect the Damage
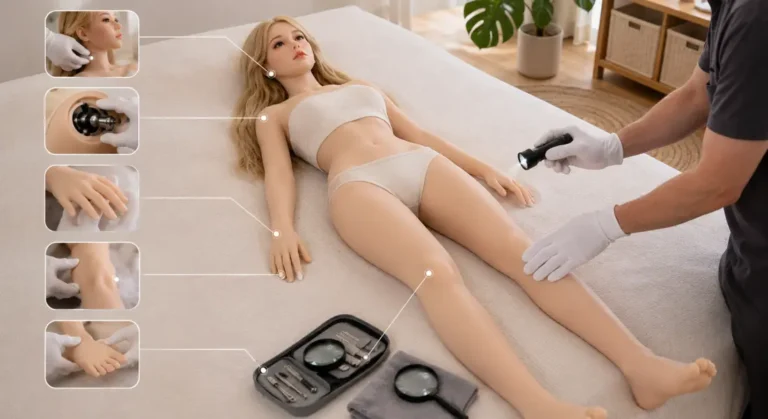
Examine the damaged area carefully under good lighting.
Confirm that the damage is limited to the surface and has not affected internal structures. If the tear appears to be spreading or exposes internal components, discontinue the repair and seek professional guidance.
Step 2 — Clean the Surface
Remove dust, oils, powder, or other contaminants from the damaged area.
Allow the surface to dry completely before applying any repair material. A clean surface helps improve the effectiveness of the repair.
Step 3 — Apply the Repair Product
Apply the repair product according to the manufacturer’s instructions.
Use small, controlled amounts rather than applying excessive material. Careful application generally produces a smoother repair and reduces excess cleanup.
Step 4 — Allow the Repair to Cure
Leave the repaired area undisturbed for the full curing period recommended by the repair product manufacturer.
Avoid bending, stretching, or placing pressure on the repaired area until the material has fully cured.
Step 5 — Inspect the Result
Once curing is complete, inspect the repaired area again.
The surface should appear stable and smooth before the doll is returned to normal handling, cleaning, or storage.
Conclusion
Repairing minor surface damage as soon as it is discovered can help prevent small cosmetic issues from becoming larger maintenance problems. Regular inspections, proper cleaning, and the use of material-compatible repair products all contribute to maintaining your doll’s appearance and extending its service life.
This guide focuses only on minor surface repairs. If you notice deep tears, exposed internal components, loose skeleton joints, or other structural damage, discontinue self-repair and seek assistance from the manufacturer or a qualified repair service.
Routine maintenance remains the best way to reduce future repairs and keep your doll in good condition.
Repair Checklist
Use this checklist before considering the repair complete.
| Checklist | Status |
|---|---|
| Damage has been inspected | ☐ |
| Surface cleaned and completely dry | ☐ |
| Correct repair product prepared | ☐ |
| Repair completed according to product instructions | ☐ |
| Full curing time observed | ☐ |
| Final inspection completed | ☐ |
| Doll stored properly after repair | ☐ |
Frequently Asked Questions
Minor surface tears can often be repaired using a repair product that is compatible with your doll’s material. Before attempting any repair, confirm that the damage is superficial and follow the repair product manufacturer’s instructions carefully.
The appearance of the repaired area depends on several factors, including the size of the damage, the repair product used, and how accurately the repair instructions are followed. Small cosmetic repairs are generally less noticeable than larger repairs.
Light scratches are often cosmetic, but inspecting them early helps determine whether they have developed into deeper surface damage that may require attention.
Always allow the repair product to cure for the full period recommended by its manufacturer before moving, cleaning, or storing the doll.
Stop attempting the repair if the damage continues to spread or exposes internal components. Larger or structural damage may require professional repair or manufacturer assistance.
Regular cleaning, proper storage, careful handling, routine inspections, and avoiding unnecessary stress on high-flex areas can help reduce future surface damage.